Photographing the Aurora Borealis (Northern Lights)
Posted on: 25 Mar 2013
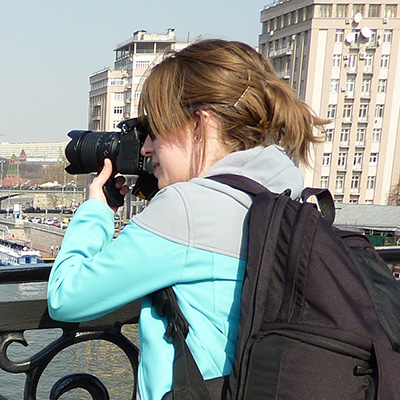
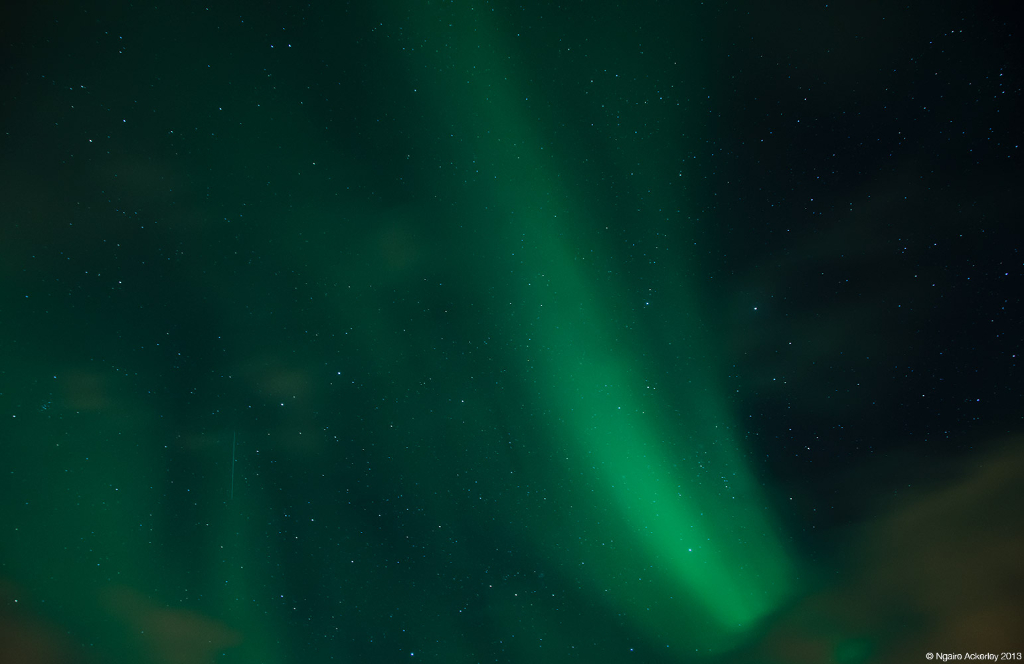
Written by: Ngaire Ackerley
Northern Lights Photography from Ngaire Ackerley on Vimeo.
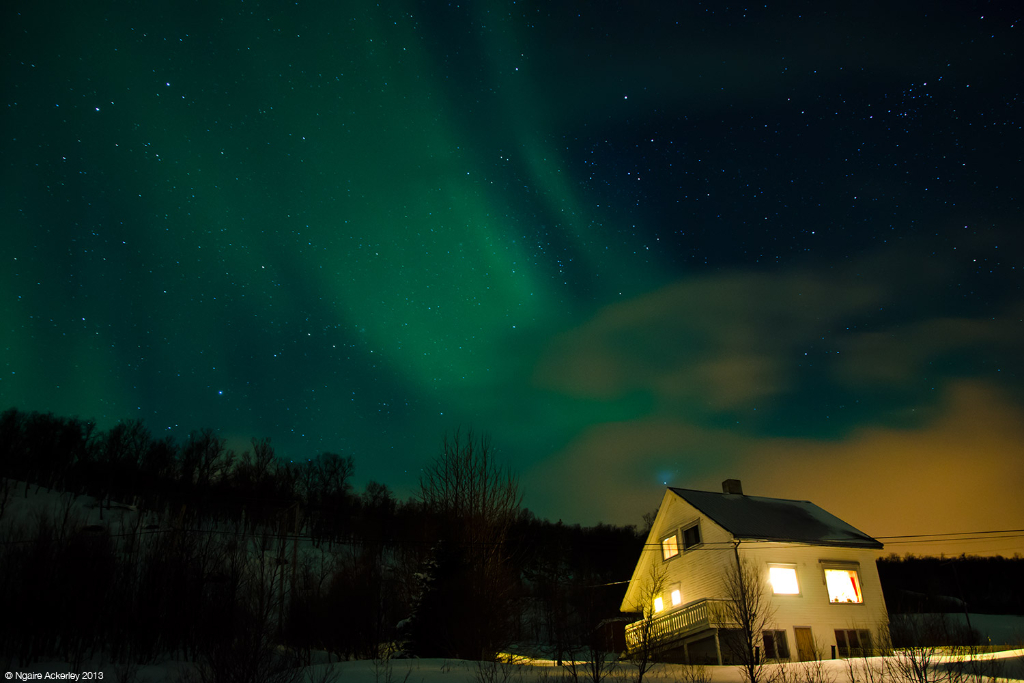
Recently I had the pleasure of being amongst snowstorms in the Arctic Circle to photograph the Northern Lights.
Tromso, in Norway was an amazing town to base myself from and travel for hours into the night in search of the amazing Aurora Borealis. It is as far north in Norway as you can fly into, hence the decision. I had planned this trip for months in advance trying to get the best time of year, moon phase etc. but no-one can plan for no the weather conditions of snow and cloud months in advance. Luckily the snow came and went in patches so I managed to capture some of the Northern Lights when clouds parted.
Before departing for Tromso, Norway I had a few evenings in London taking photographs along the Thames and at the bright lights of Piccadilly Circus at night testing out long exposures and interval timing. As prepared as I tried to be, it sometimes takes someone experienced to really share their knowledge to capture the Northern Lights effectively. So, one evening in Norway I attended a Northern Lights Photography Tour where they gave tips on how to photograph the Northern Lights. While that night the cloud was thick and I only ‘just’ captured the northern lights, the knowledge I gained from that evening helped me the following night when the clouds and snow from the sky cleared and the Aurora Borealis put on an amazing show.
So, here are my top tips for photographing the Aurora Borealis (Northern Lights):
Your Camera
- Remove the UV Filter
- Put the lens hood on
- Shoot RAW
Stability is key!
- Use a tripod
- Have a cable release or remote if your camera doesn’t allow for a timer
Focusing and Zoom: Keep the stars crisp
- Use one focus point and don’t zoom
- Before you leave the warmth of the indoors – focus on something far in the distance then lock or tape your focus and zoom rings so they don’t move.
- Take VR off and set focus to manual – then it won’t try focusing as you shoot, because you’ve already set your focus settings.
White Balance: Capture the correct colours
- Set your white balance to Tungsten.
ISO, Aperture and Shutter Speed will differ between different camera and lens combinations, but this is what I’d recommend for a Nikon D7000 with 18-105mm 1:3-5.6G ED VR Lens.
ISO: Night
- Try settings between 1600-3200 if your camera allows for it, you may even be able to go lower to 1200.
- If your images are noisy, then photographing them in RAW will allow for post-production editing of the noise.
The Northern Lights
Aperture and Shutter Speed
- Long exposure is the key
- Use a timer, cable release or remote
- Aperture should be as large (small number) as your camera/lens will allow for. Mine was about F3.5
- Shutter speed try between 15-30 seconds.
Check out the full gallery of photographs from Norway here »
« Back to Blog